| We think of history as events written in textbooks, but most often our personal histories are written in the people and objects that surround us. These objects portray what we ourselves find important, the things we interact with every day, that we can’t live without. By making note of these objects through art, we preserve and exhibit their importance in our lives. |
Cuando pensamos en la historia, recordamos eventos descritos en libros de texto, pero con frecuencia nuestras historias personales están escritas en las personas y los objetos que nos rodean. Estos objetos retratan lo que nos parece importante, aquellas cosas con las que interactuamos a diario y sin las cuales no podemos vivir. Al poner en relieve estos objetos a través del arte, protegemos y mostramos su importancia en nuestras vidas. |
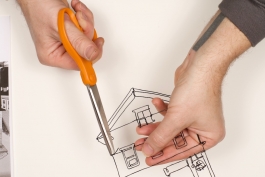
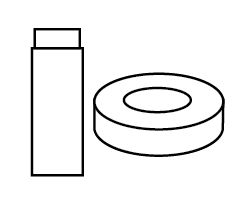
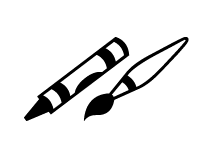
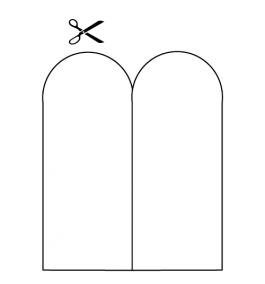
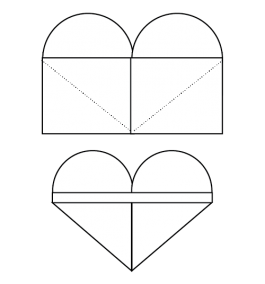
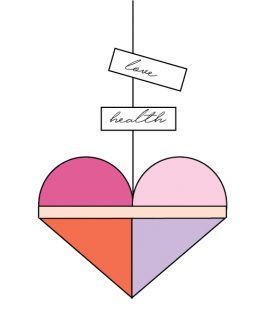
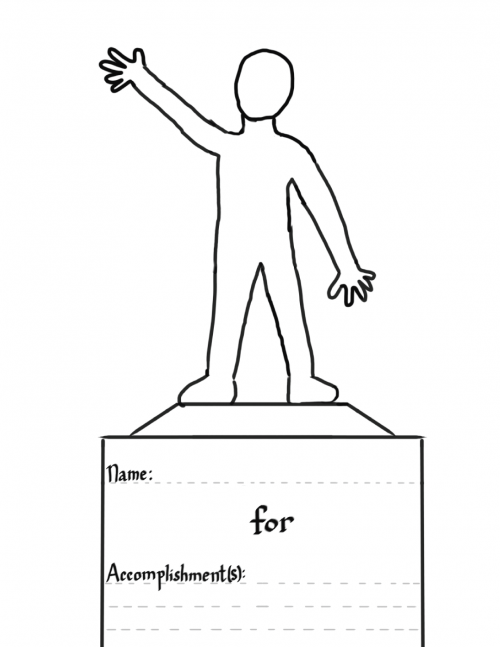
Materials/Materiales:
Instructions / Instrucciones:
|
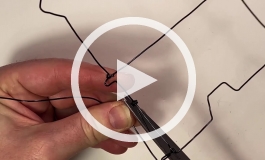
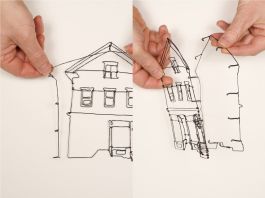
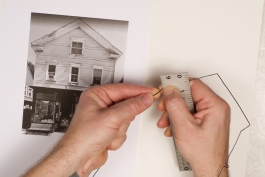
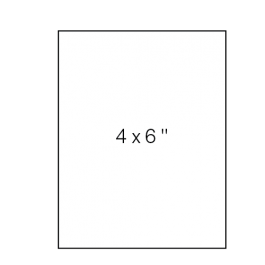
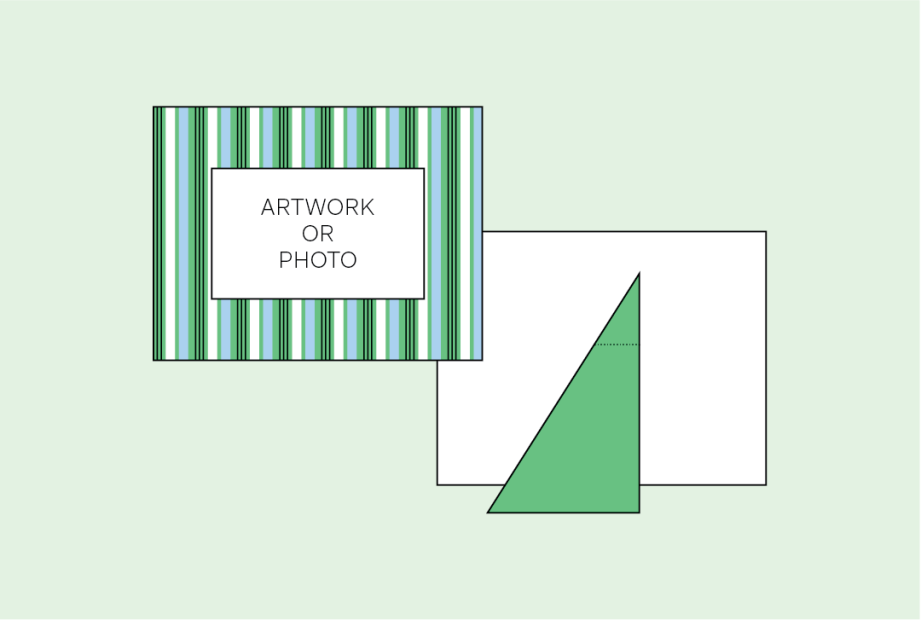
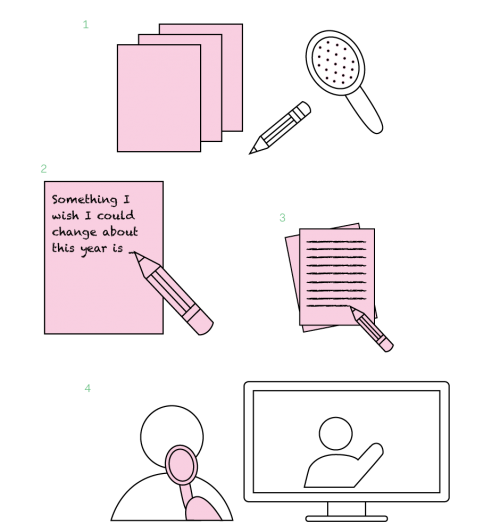
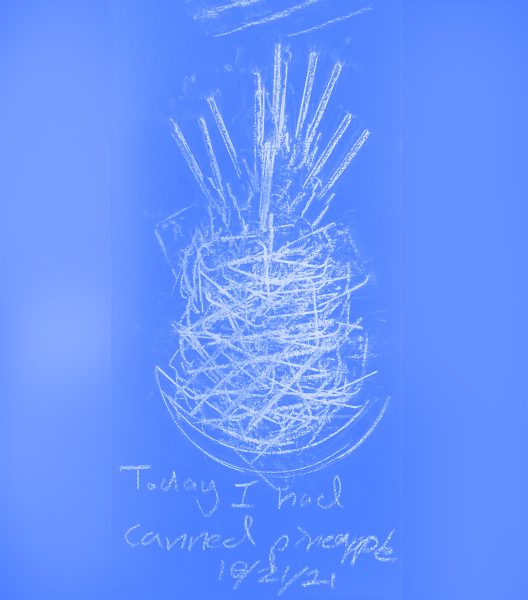
Each day for 30 days, make a rubbing or a drawing of an object that was important to you that day. Write down the date. To make a rubbing, simply place your paper on top of a hard and flat object. Using the side of your crayon, rub lightly back and forth until the shape of the image appears. Remember that even the most common objects are important to our personal histories, like the things in our pockets or the ground that we walk on. Almost everything has a pattern and a texture. With practice, you can even combine textures and objects you find to make pictures! Here, you can see that I used the key to my front door and a heating vent to represent the canned pineapple I ate as a snack. Of course, your rubbings don’t have to actually look like something. Simple textures can be powerful triggers for your memory. When you’ve run out of paper, place all the sheets together in a grid on your floor. Looking at them together, see what you can remember about the history you’ve made each day! |
Durante 30 días, crea a diario un frottage o un dibujo de un objeto que fue importante para ti ese día. Anota la fecha. Para crear un frottage, tan solo coloca el papel sobre un objeto rígido y plano. Con un lado del crayón, frota ligeramente hacia atrás y adelante hasta que aparezca la forma de la imagen. Recuerda que hasta los objetos más comunes son importantes en nuestras historias personales, como las cosas que tenemos en los bolsillos o el suelo que pisamos al caminar. Casi todo tiene un motivo y una textura. Con la práctica, incluso puedes combinar texturas y objetos que encuentres para crear imágenes. Como puedes ver, aquí usé la llave de la puerta principal y una rejilla de ventilación para representar la piña en lata que comí como refrigerio. Por supuesto que no es necesario que tus frottages representen un objeto. Las texturas simples tienen el poder de desencadenar recuerdos. Cuando te quedes sin papel, reúne todas las hojas en el suelo para formar una red. Al verlas juntas, nota qué recuerdas acerca de la historia que creaste cada día. |
Artist Bios / Biografía del Artista:
|
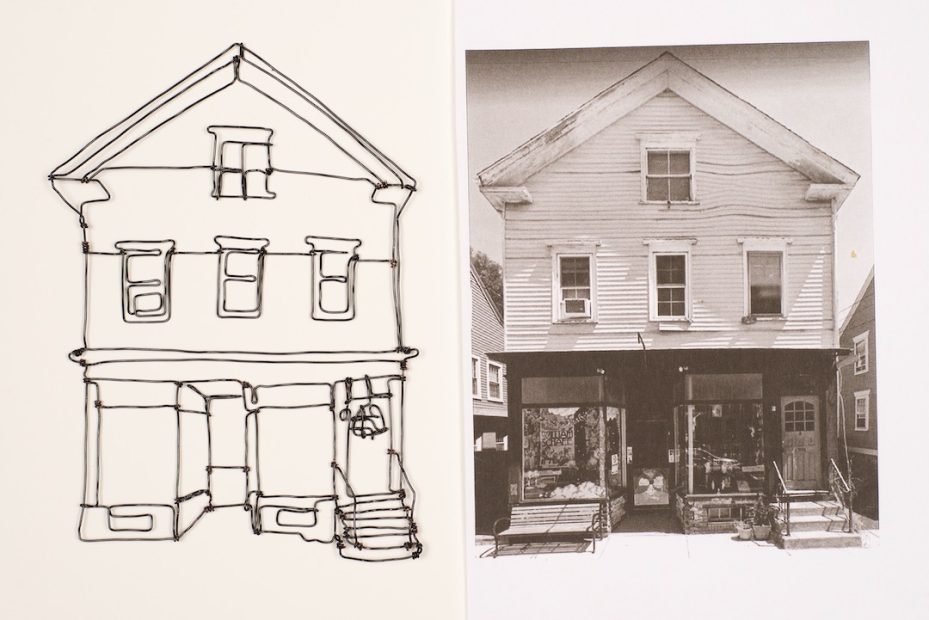
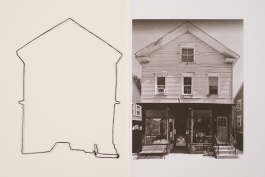
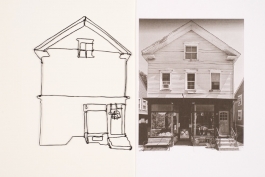
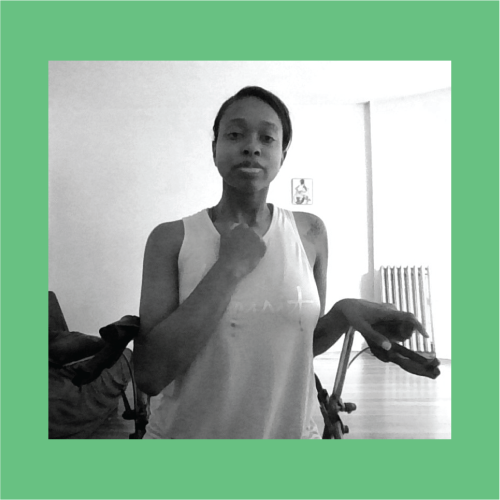
Born and raised in Boston, Eben Haines makes work that investigates the life of objects and the constructed nature of history. Using a variety of mediums including painting, sculpture, and drawings, recent works consider the inequity of existing historical systems that maintain housing insecurity. |
Eben Haines nació y creció en Boston, y crea obras en las que investiga la vida de los objetos y la naturaleza construida de la historia. Mediante una variedad de medios, entre ellos, la pintura, la escultura y el dibujo, sus obras recientes plantean la desigualdad de los sistemas históricos existentes que sustentan la precariedad de la vivienda. |
|
Share your artwork on social media with #ICAartlab |
Comparte tu experiencia en redes sociales con #ICAartlab |