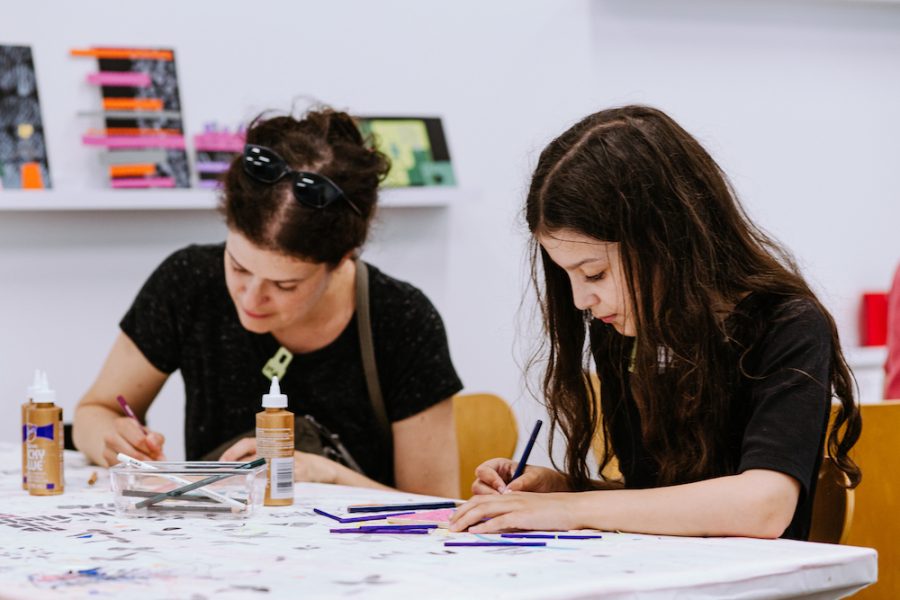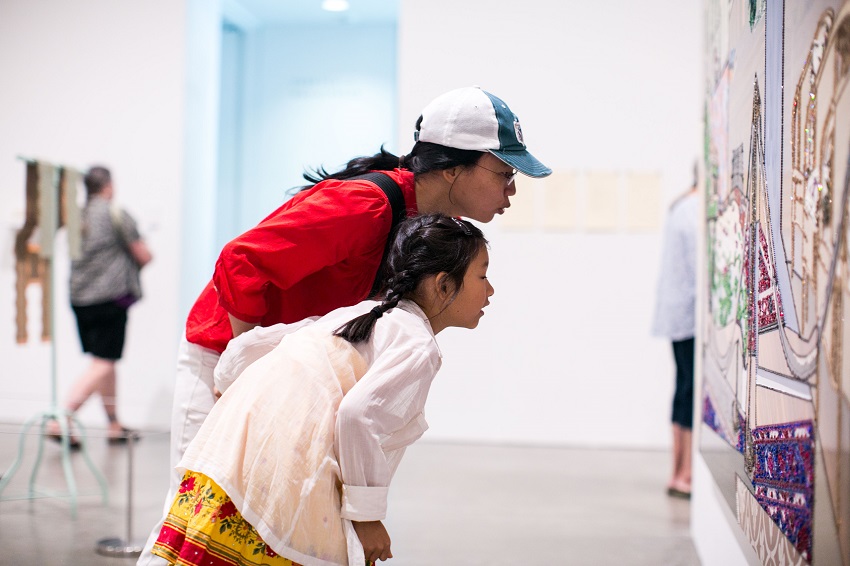
This activity invites kids and their grownups to unite over the meditative and ancient art of weaving. Reflect and create together while weaving your family narrative of life during quarantine.
This activity is appropriate for children ages 5 and up with the help of an adult.
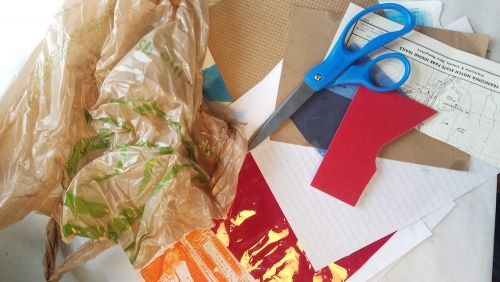
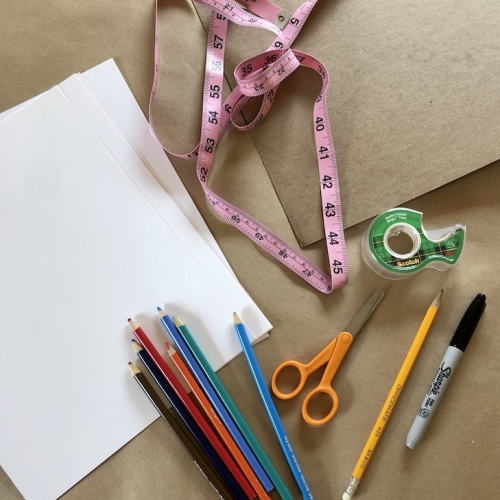
You will need:
- 1 piece of thick cardboard, at least 8.5” x 11”
- Ruler
- Paper and writing utensil
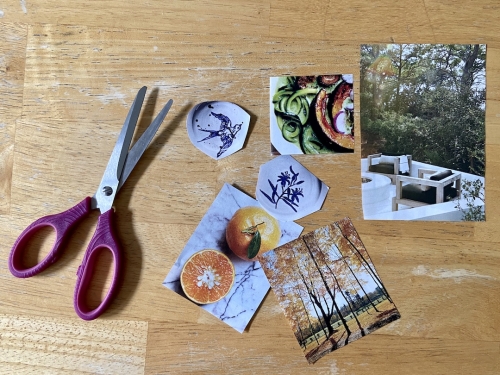
- Scissors
- Tape
- Long consecutive piece of yarn, string, twine, or thin rope
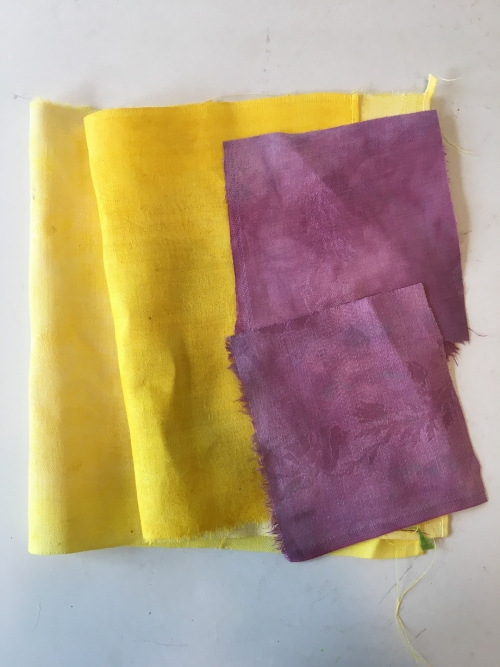
- Found objects to weave with: yarn; cut strips of cardboard, fabric, or paper bags; sticks, flowers, feathers, bendy straws, etc.
- Optional: Thin stick, pencil, or dowel to hang weaving from
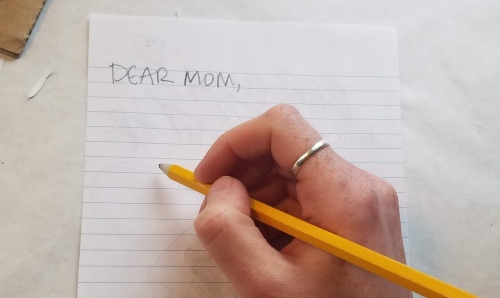
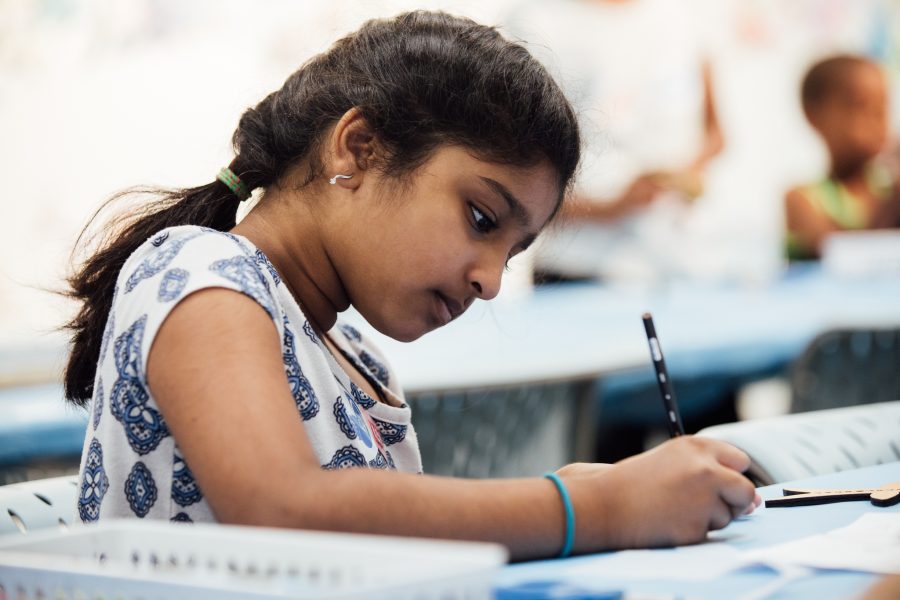
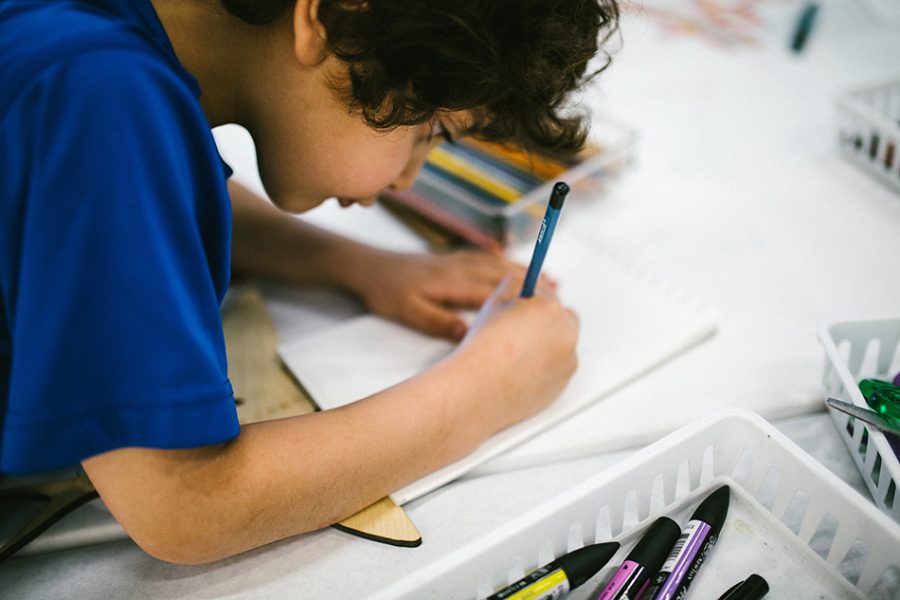
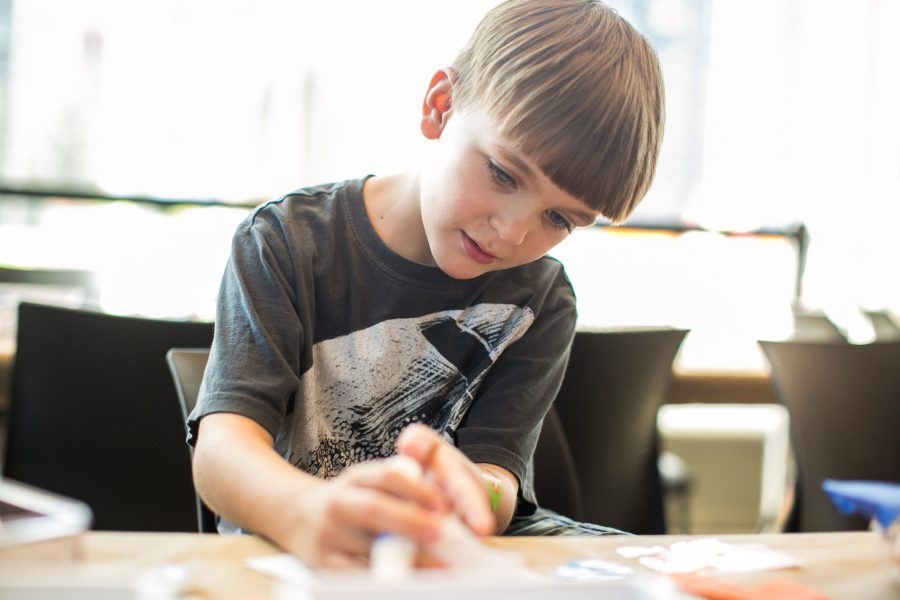
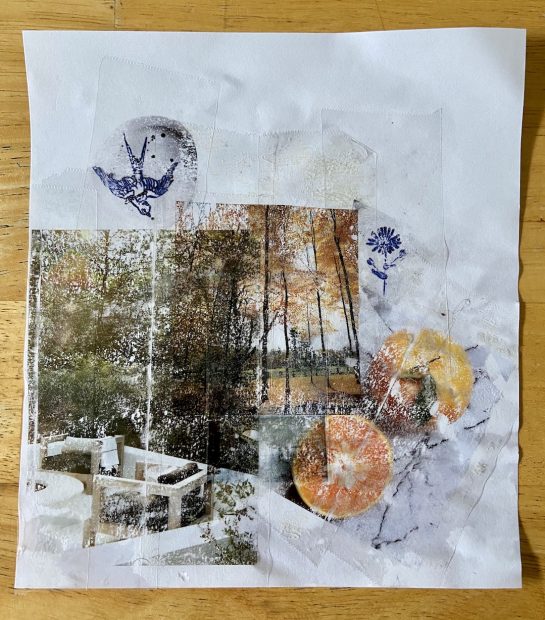
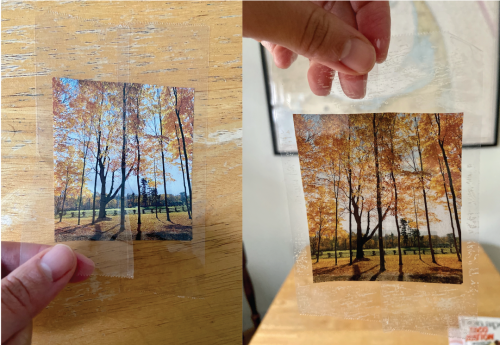
1. Writing Reflection Exercise:
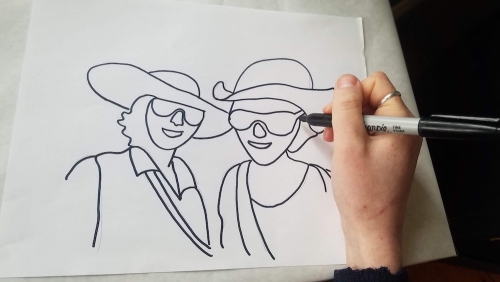
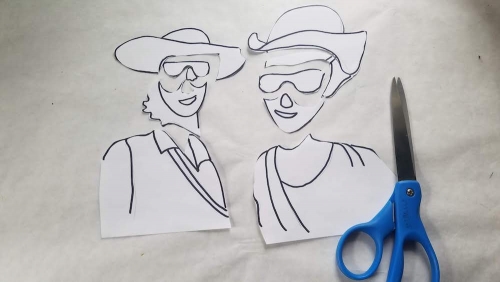
- Using paper and a writing utensil, reflect on you and your family’s personal experiences during quarantine. This text can later be cut or ripped and used directly in your weaving.
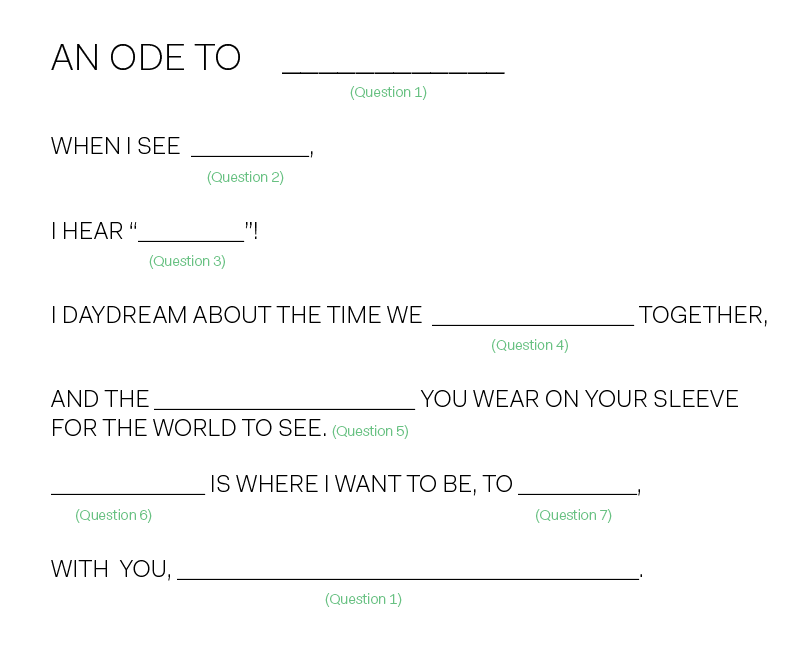
- What are you sharing during quarantine that you didn’t have to share before?
- What are you and your family doing during quarantine to feel happy or relaxed?
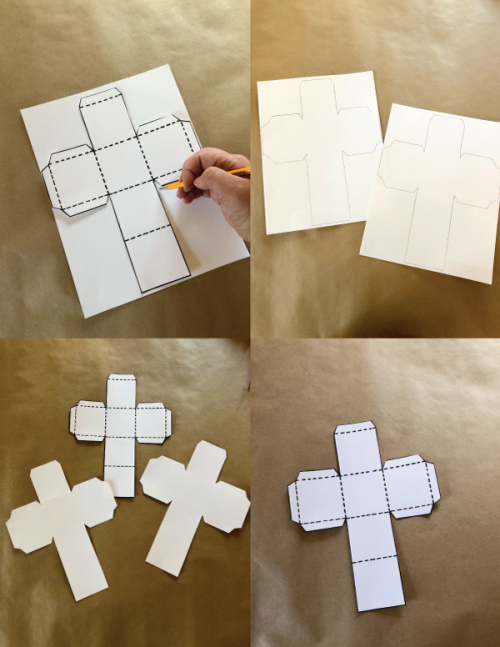
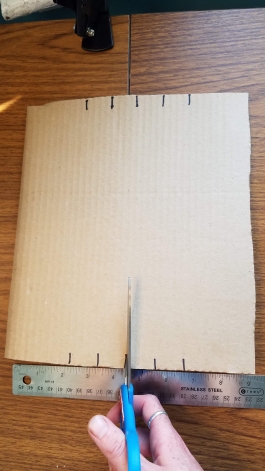
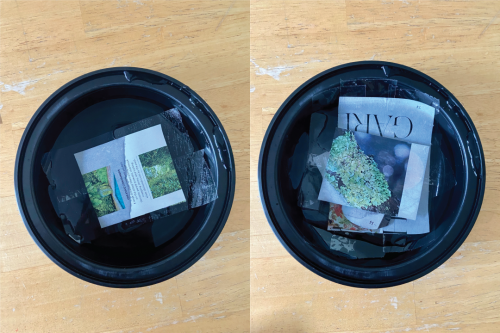
2. Make a loom:
Mark 5 equidistant lines from the center of the top and bottom edges of your cardboard. Cut into each line to create equal-sized notches. Now you have a loom to create many weavings with!
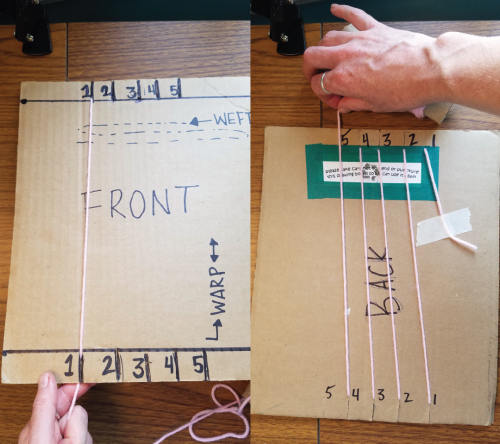
3. String your loom:
Tape the end of a long piece of string to one side of the cardboard. Stretch and pull the string into the top, left notch. Stretch down the backside of the cardboard and pull into the bottom left notch. Repeat until the string is pulled snugly into each notch. Tape down end, leaving a 4” tail of string, then cut. Congrats, you’ve strung, or ‘warped’ your loom!
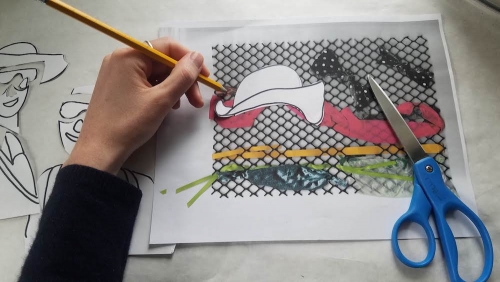
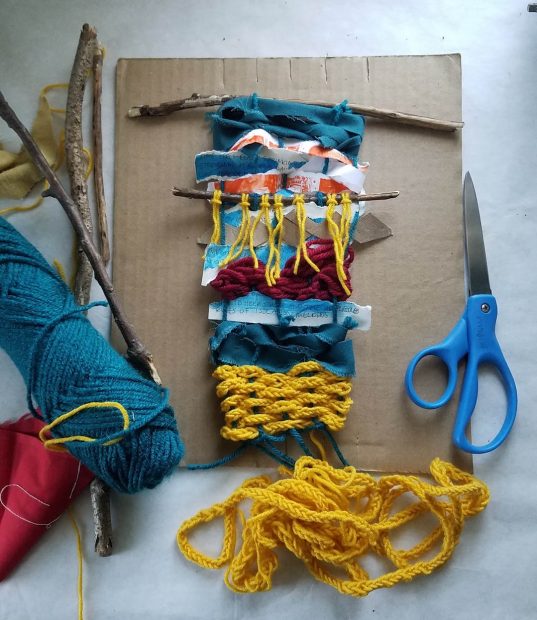
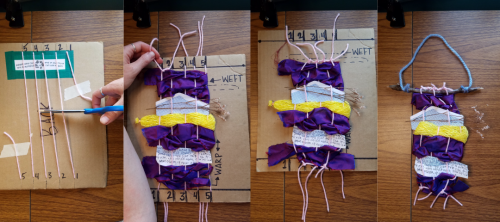
4. Weave!
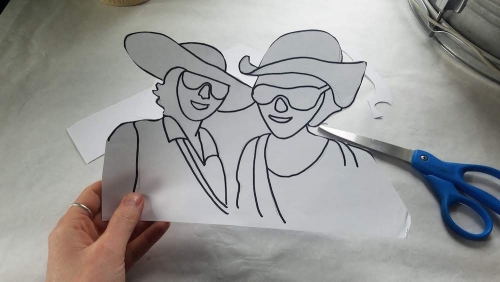
Weave materials horizontally over and under the vertical strings. Alternate the over/under pattern on the next line. Try to maintain consistent tension while weaving, without pulling too hard. To incorporate your personal story into your weaving, written reflections could be cut or ripped into strips and woven in.
Learn the basics of weaving in these videos:
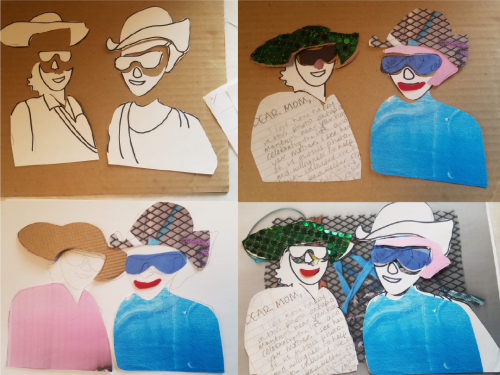
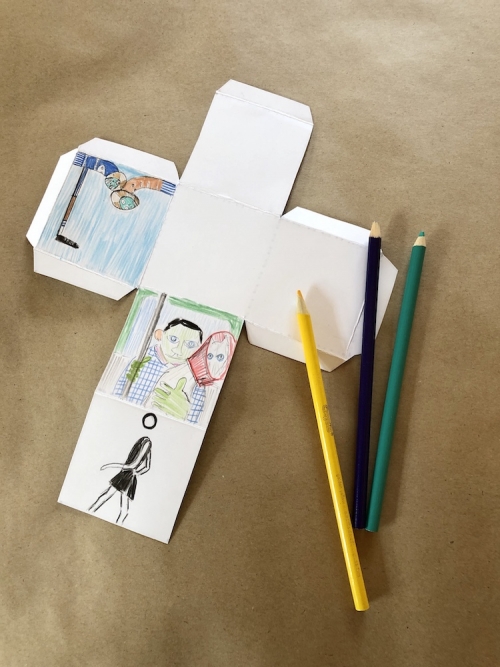
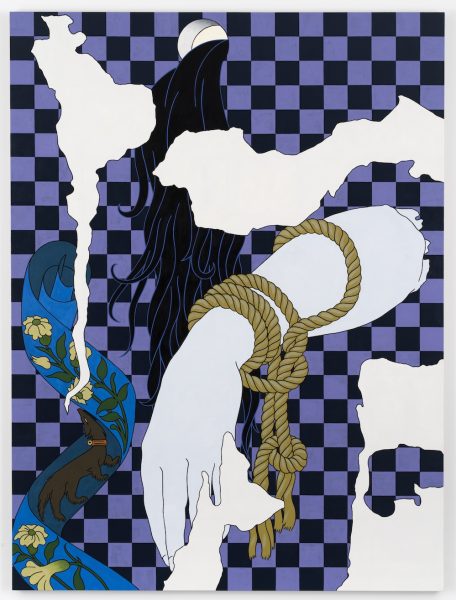
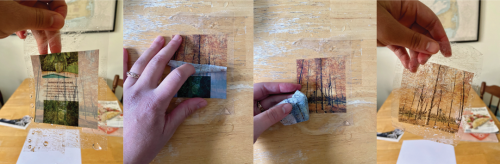
5. Remove Weaving from Loom:
On the back of the loom, cut the vertical strings across the center. Tie the end of the first string to the second, then second to third, and continue across the top. Repeat by tying your strings across the bottom. Trim ends. Tuck the ends of your weaving into the back. If you’d like, incorporate a stick or dowel and hanging string at the top.
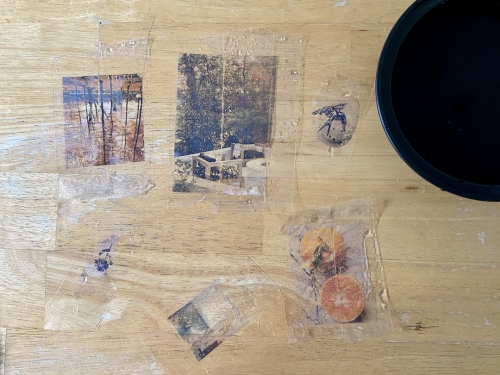
Pro Tip!
You can use your loom to make many more weavings! Add more notches to create a wider weaving. To create different size weavings, change the size of your loom.

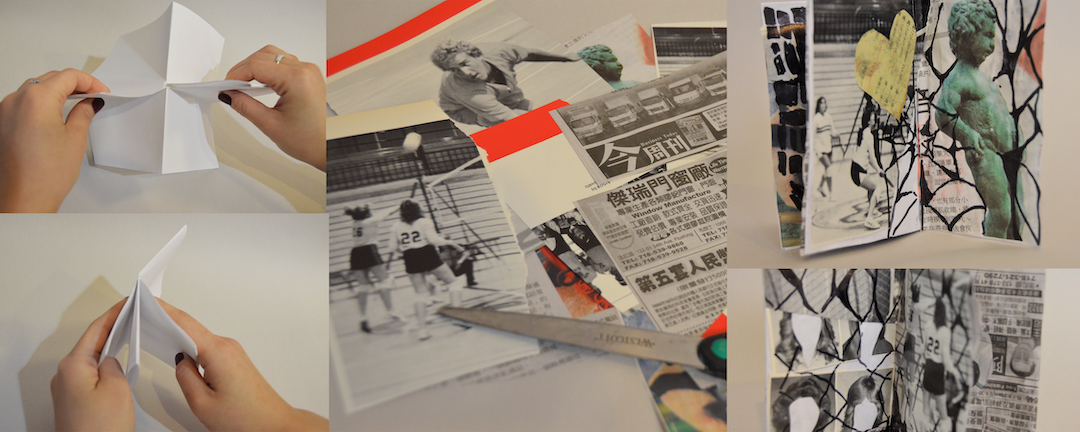


![Art-Lab_[KCollage]_Step[1]-combined.png](/wp-content/uploads/2023/03/art-labkcollagestep1-combined.png)
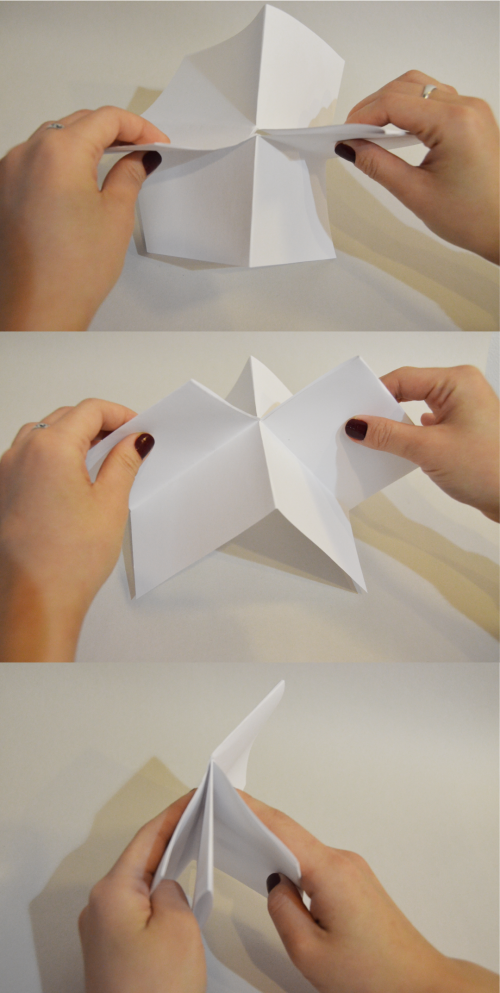
![Art Lab_[KCollage]_Step[2].jpeg](/wp-content/uploads/2023/03/art-labkcollagestep2-1.jpeg)
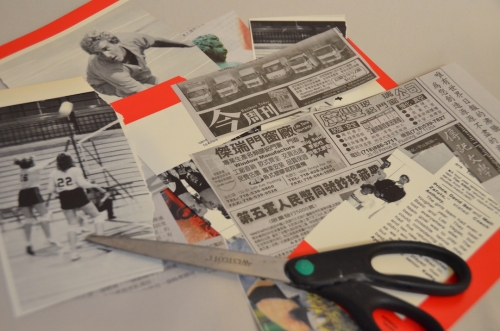
![Art Lab_[KCollage]_Step[4+5].jpeg](/wp-content/uploads/2023/03/art-labkcollagestep45-1.jpeg)
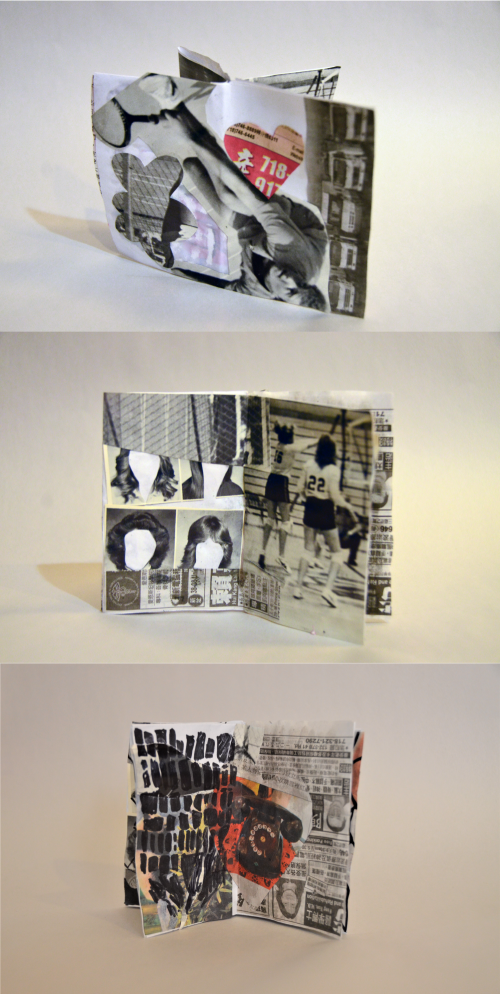
![Art-Lab_[KCollage]_Step[6]-combined.png](/wp-content/uploads/2023/03/art-labkcollagestep6-combined-1.png)